Measurements

PreNotch Gauging System
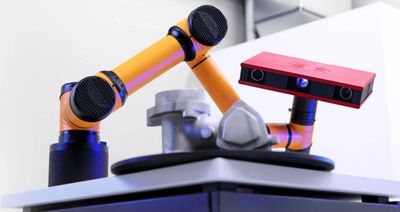
Fast automated measurements with highest precision: all-in-one solution for an efficient quality control in production and manufacturing processes. The system provides fully automated full-field deviations between the actual coordinates and the CAD data in a short amount of time. Additionally, the powerful all-in-one software Inspect derives GD&T information, trimming or hole positions.
3D Vision Inspection

Description:
During the roll forming process "notched" features are punched into the raw sheet before finishing and cutting to length. The current process of verifying dimensional accuracy of these features is slow and mostly manual. Manual
measurement introduces the possibility of inconsistent measurements due to variations in operator technique and interpretation.
Components can range in length up to 9 meters making traditional measurement techniques impossible. Many of the measurements are required to hold a tight tolerance yet can only be measured using a tape measure. Verification of all
Components can range in length up to 9 meters making traditional measurement techniques impossible. Many of themeasurements are required to hold a tight tolerance yet can only be measured using a tape measure. Verification of all
Copyright © 2025 Mikrovis - All Rights Reserved.